.Net Tools 发布指南
在 创建 .Net Tools 中讲解了如何从零创建一个 .Net Tool,本文将讲解如何将 .Net Tool 发布到 NuGet 上。
NuGet 是最大的 .Net 包管理组织,你可以在上面找到大量的 .Net 包,也可以将自己的包发布到上面。
本文假设你已经创建了一个 .Net Tool(.nuget 文件),并且已经有了一个 NuGet 账号。
NuGet 中管理的包,不仅仅是 .Net Tool,还有 .Net 库等等。
#手动发布
登录 NuGet,选择进入页面最上方的 Upload 入口,即可进入上传页面,在其中选择 Browse... 并选择在 打包 Tool 时生成的 .nupkg 文件,点击 Upload 即可上传。

#命令行发布
为了在命令行中发布包,必须获取一个 NuGet API Key,该 Key 用于验证发布者的身份。
在 NuGet API Key 页面中,点击 Create,并按提示输入信息后,点击 Create 即可生成一个 API Key,切记当创建好后,需要立刻复制并保存 API Key,因为之后将无法再看到该 Key。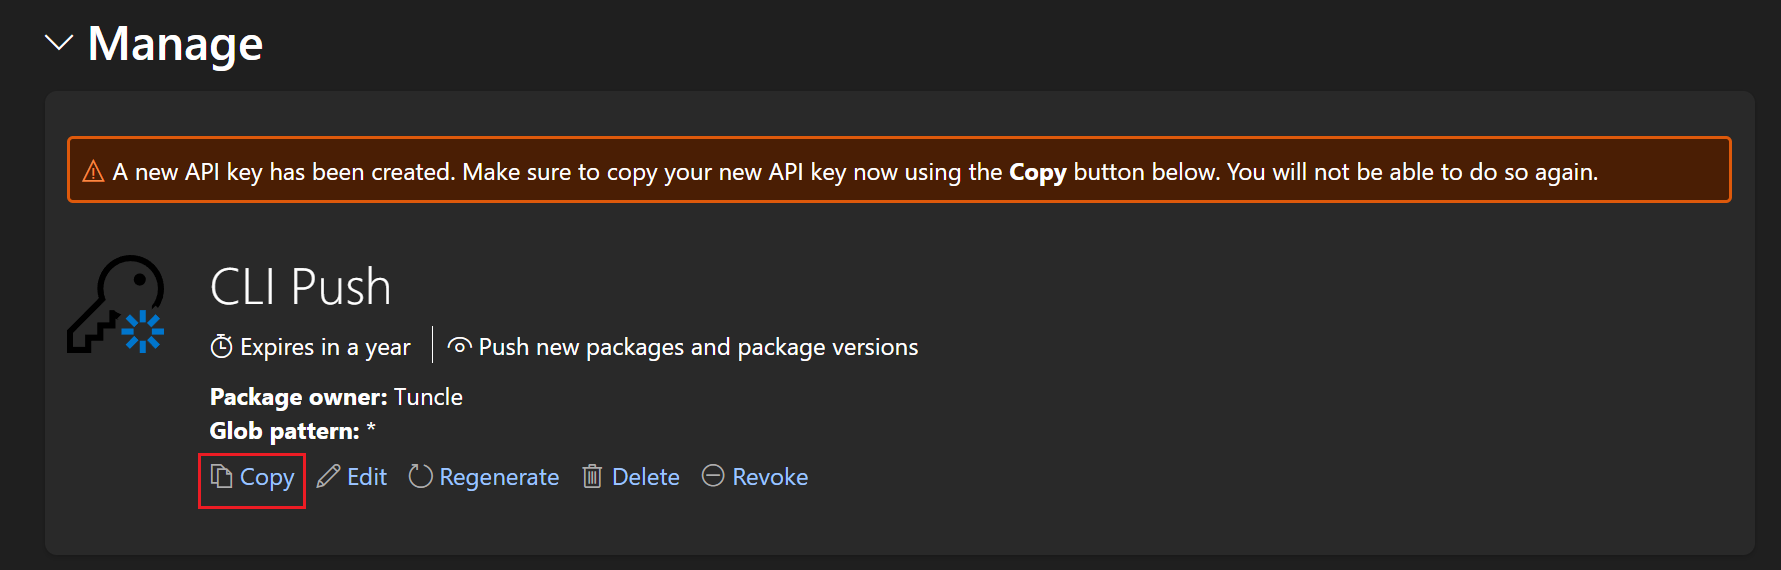
当获取到 Key 后,即可通过 dotnet nuget push 命令进行发布:
1 | dotnet nuget push <.nupkg Path> --source https://api.nuget.org/v3/index.json --api-key <ApiKeys> |
但这样要求每一次发布都要输入 Key,为了避免这种情况,可以通过 nuget setapikey 命令设置 API Key:
1 | nuget setapikey <ApiKeys> |
nuget 可通过 Windows Package Manager 进行安装
1 | winget install Microsoft.NuGet |
对于发布的源,可以通过 dotnet nuget config 进行设置:
1 | dotnet nuget config set defaultPushSource nuget.org |
当配置了 Api Key 和 Source 后,在每次发布时就不再需要输入 Key 和 Source 了,只需要运行:
1 | dotnet nuget push <.nupkg Path> |
setapikey 和 config 本质上都是修改了 NuGet.config 文件,该文件位于 C:\Users\$env:username\AppData\Roaming\NuGet 下。
ApiKeys 只能通过 nuget setapikey 进行设置,不支持通过 dotnet nuget config 进行设置。 dotnet nuget config 只能设置配置文件中 config 字段下的数据。
所有可配置的内容见 NuGet.Config Schema Reference。
#Reference
 wechat
 alipay